From StarTuned
A topic intimately related to rotor wear is pedal pulsation, a condition that seems to continue to grow. It tends to repeat, too. The car may go out of your shop with nice, smooth braking action, but in a distressingly high percentage of cases, it shows up at your door again within a couple of months, and there’s a good chance its owner will have lost faith in your work.
There’s no doubt that, whether mild or violent, pulsation takes the fun out of driving an otherwise fine vehicle. Nobody likes bumpy braking, but you have got to understand it before you can cure it. One expert gave us a theory about why pulsation problems increased when semi-metallics supplanted asbestos. He believes it is related to what happens when you stop at a light. By their very nature, semi-metallics conduct heat away from the rotor, whereas asbestos is nothing if not a good insulator. This was intended, but it has an unintended consequence: The area of the disc that is gripped by the pads cools faster than the metal around it, causing warpage. Another authority says, “A fundamental fact that many technicians do not realize is that semi metallics are designed primarily to get the heat out of the rotor.” So, heat is the enemy and such things as sluggish pistons that don’t retract properly help keep that temperature up.
Thickness variation out of wobble
The direct cause of pulsation is DTV (Disc Thickness Variation), which can also be seen as a lack of parallelism between the two sides of a rotor. Wobble causes the rotor to wear unevenly as it hits those abrasive pads in one spot on each side every revolution of the wheel, and the contact areas will end up thinner than the rest of the disc. Some authorities claim that .002 in. of runout can cause about .0004 in. of DTV in 3,000 to 5,000 miles. Typically, thickness variation should be held to .0002 in., although we know brake exerts who say it’ll take .0004 to generate a complaint. Either way, you’re going to have to take your time checking for discrepancies this tiny — measure thickness at eight evenly-spaced points around the disc.
As a diagnostic preliminary, make sure the condition is indeed due to the friction components and not the result of a malfunctioning ABS. The module could misinterpret a bad signal from a damaged or contaminated wheel speed sensor to be a skidding tire, so may pulse the hydraulics. If you take the time to carefully experience the condition, however, your technician’s instincts should allow you to differentiate between the two. Next, you’ve got to determine whether the pulses are coming from the front or the rear (or both). Commonly, DTV in the front will cause the steering wheel to rock or shudder on light brake applications at low speeds. You’ll feel the side-to-side movement if you hold the wheel with just a few fingers. If you work on vintage Mercedes with rear drum brakes, you can find out if the rears are at fault by finding an uncrowded street, coasting in neutral at about 20-25 mph, and applying the parking brake gradually. Out-of-round drums will typically produce a heavy bumping and hitching during this test. Get the car safely up in the air, but don’t pull the wheels yet. Instead, measure runout on the inside of the rotor with the wheel installed and the lugs torqued, if possible. This will tip you off to real-world runout.
Not so flat
Besides ordinary runout, there’s disc flatness, the kind of warpage that makes the rotor resemble a potato chip. With your dial indicator, check for this at points 90 deg. apart and close to the outer edge of the wear surface. Find the high point and mark it “1,” rotate the disc one-quarter turn, mark it “2” and record the reading. Do the same thing twice more to establish points “3” and “4.” The difference between “1” and “3” will be max runout, whereas the biggest deviation from flatness will be between “1” and “2,” “2” and “3,” “3” and “4,” or “1” and “4.” In the past we were told we could check for flatness with a straightedge and feeler gauges, but most authorities today say that’s apt to be inaccurate and misleading. Everything we’ve mentioned so far applies to both front and rear discs. Since rears only account for 40% or less of stopping power, however, they won’t be the cause of as many complaints.
Don’t be a troublemaker
Sure, today’s brake systems are prone to problems for all the reasons stated earlier, but that doesn’t mean you shouldn’t do whatever you can to avoid aggravating the situation. In other words, don’t cause trouble. This begins with what should be the simple matter of tightening the wheel lugs. This should always be done with a torque wrench, but we all know that just about everybody out there in the trenches of auto repair does it with a 1/2-inch-drive impact gun. Speed, you know. Shops that use a torque wrench typically have fewer comebacks for pedal pulsation (of course, they employ other careful procedures, too, which we’ll mention later).
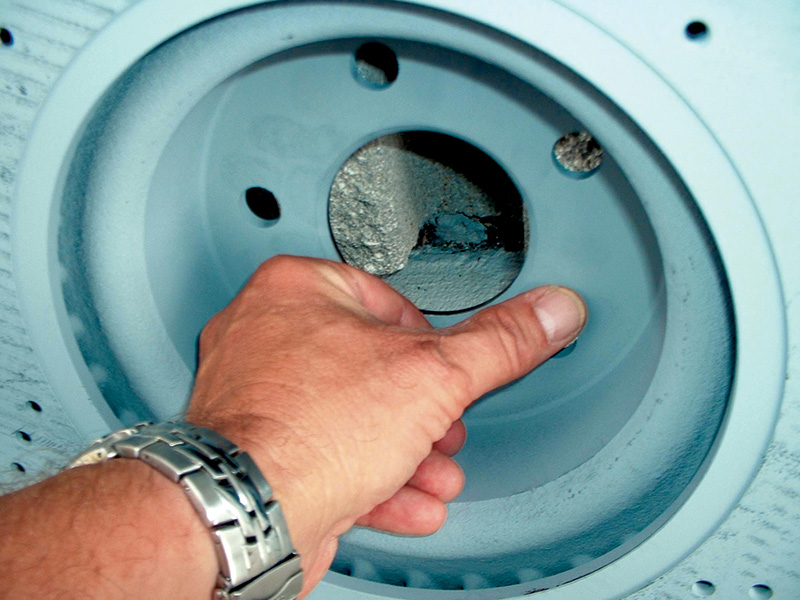
As one veteran brake expert explains it, “What happens is you tighten the first lug to 90 ft. lbs., and that cocks the wheel. Then, you may tighten the second to 90 also, but the wedge effect makes the other one actually closer to 130, which puts an uneven strain on the rotor. After a couple of months, or 1,500 to 4,000 miles, the iron relaxes to match the stress, and you’ve got a pulsation problem. You can avoid this by installing the wheel and tightening the lugs while the car’s on the lift, lowering it, backing them each off half a turn, then torquing them.” Good point, and we’ll add that you should use the proper tightening pattern, either star or criss-cross, depending on the number of lugs. Even more important, though, is anything that interferes with the trueness of the rotor mounting. For example, corrosion on the hub or axle flange that keeps the disc from seating properly, hence introducing runout. In our shop, we use our “whizzer” with abrasive discs and various powered wire brushes to get those flanges as clean as possible before mounting the rotor. If there was no pulsation problem and the disc is to be reused, we index a lug and the rotor “hat” with punch marks or paint so we can be sure to put it back in the same position.
It’s a worthwhile precaution to check runout whenever a new rotor is installed. If it’s less than .002 in., send the car out. If it’s anything more, remove the rotor, rotate it one lug, remount it, and check again. Keep doing this until you arrive at the position with the least wobble.

Break ’em in, don’t burn ’em up
Some authorities say overlooking proper lining break-in is the Number One cause of noise and hard pedal complaints. As one brake expert tells us, “It’s not unusual to see a perfectly good brake job ruined in the first five minutes by improper break-in.” The ideal way to start new linings off is to make 30 slow stops (spaced two minutes apart) from about 30 mph using light to moderate pressure. Obviously, no working tech is going to take that much time. But you’d be foolish not to make at least 10 moderate stops at 30 second intervals (you should be able to feel the action smooth out), then caution your patron to avoid heavy braking for the first 200 miles.
Miscellaneous
We’ll conclude with some random, but important, points:
- That gray anti-corrosion coating on new M-B O.E. rotors? You don’t have to waste any time removing it. It’ll disappear after just a few light stops during lining break-in, and leaves no harmful residue.
- Following the “no turn ’em” philosophy doesn’t relieve you of the responsibility of repacking wheel bearings and replacing the grease seal when a rotor is reused.
- Mercedes-Benz has made special “cleaning pads” available to improve the wear surface of rotors that are to be reused without taking a lot of meat off. You drive no more than 300 meters at 30 kph (roughly 300 yards at 20 mph) while repeatedly applying the brakes moderately.
- While Torque Sticks are a big improvement over just blowing those lugs on with your thermonuclear gun, a torque wrench is still superior.
- In that vein, some shops are using a 3/8-inch-drive air gun turned low to run the lugs up lightly, which won’t produce enough torque to cause warpage, then finishing with a torque wrench.
- It’s been found that overly hard friction material can amplify any variation in a disc to the point of unacceptable vibration. So, use only the best, meaning O.E., to avoid complaints.
- An Mercedes-Benz-approved brake paste applied to the hub and the mounting surface of the rotor will go a long way to prevent corrosion, and will also help heat dissipation.
- Dragging brakes will obviously result in overheated rotors. One cause is sluggish caliper pistons, another a clogged hose that lets psi into the cylinders under that substantial pedal pressure, but not out from the wimpy return force of the piston seal. Regular brake fluid changes can head off both.
- Never use aerosol brake cleaner to wash rotors or pad surfaces. We mean it. The thing that works best here (and is cheapest, too) is detergent and water applied with a scrub brush. That floats metal particles and other hard contaminants out of the pores. Thin, volatile solvents just make the iron absorb them.
Leave a Reply